“Configuring an ERP system is largely a matter of balancing the way the organization wants the system to work with the way it was designed to work. GoERPBaby typically include settings that modify system operation.”
Main Configuration is the overall configuration of your organization in GoERPBaby. If you wish to configure your organization in the system then click on “Main Configuration” Option located in the drop-down list of the More Category.
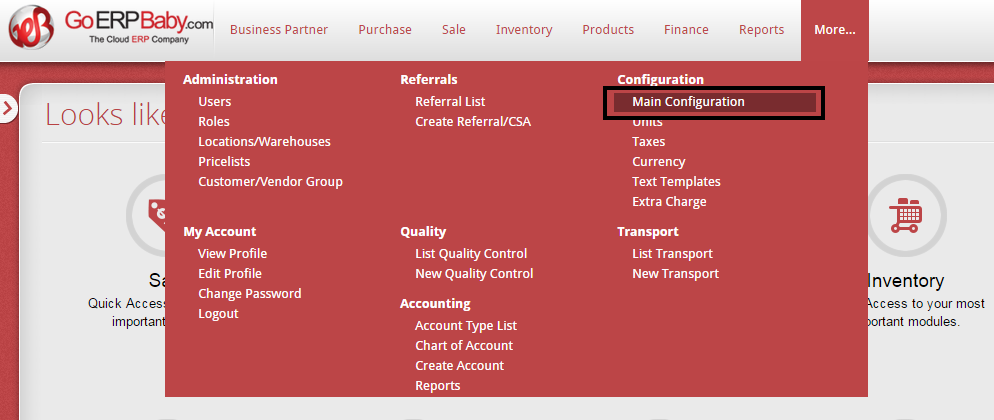
When you click on “Main Configuration” Option, a screen appears that help you in inserting all the basic details and image as logo of your organization. The details include:-
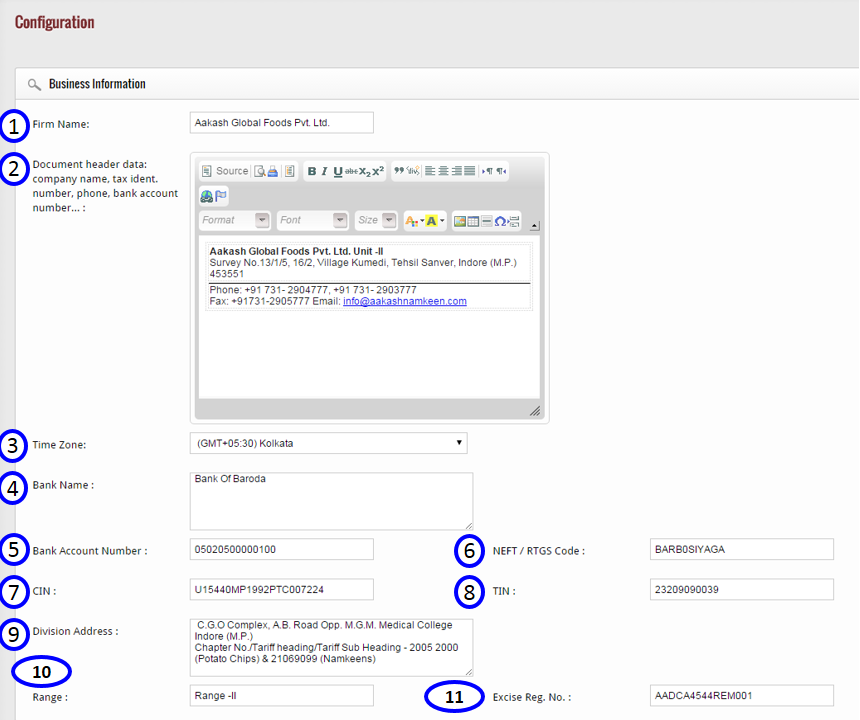
Business Information
- Name of the firm
- In second section, you can add the text which you want to display or print on the documents of your company ( For example, you can add the name of your company, address, phone number, email id and the details you want)
- Select the time zone in which your company works
- Enter the name of the bank account of your organization
- Enter the bank account number
- Enter the NEFT/RTGS code of the bank in which you have your bank account
- Enter the Challan Identification Number of your bank account
- Enter the Taxpayer Identification Number of your bank account
- Add the address of different divisions of your organization
- Enter the range of your business
- Enter the excise registration number of your organization. Excise registration number is a registration number, issued to all the Central Excise Assesses.
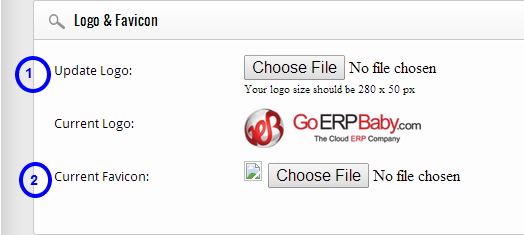
Logo & Favicon
- Upload the logo of your company. After inserting the logo from your system here you can view the preview of your logo
- You can also add the favicon of your company

Configuration Setting
- Select the currency you want to show in documents.
- Sales Order Prefix: You can add a prefix for your sales order like ORDER, QUO etc. This will help you to differentiate sales orders from all documents and you can easily know which document is sales order or other.
- Just like prefix for sales order, you can also create prefix for the receipts.
- Create and add prefix for the credit note ( Credit note is the document which is created after the invoice is cancelled)
- Create and add prefix for the invoice.
- Create and add prefix for the purchase order.
- Create and add prefix for the Excise invoice.
- Create and add prefix for the inventory.
- Create and add prefix for the purchase return.
- Create and add prefix for the finance purchase.
- Create and add prefix for the finance sales.
- From here, you can allow the sales without available stock, means you can take order and create sales order even if you don’t have the stock available in your inventory. If you check this box, you can create sales order for stock that is not available at that time. If you don’t check the box, then you can also create sales order for the available stock in your inventory.
- If you wish to provide some discount on tax to your customers and vendors, then check the box to provide tax discounts.
- If you have some products of quantity of products that are available in decimal points, then you can easily add the quantity in decimal by checking this box. For example, if you are the manufacture of food items or dress materials, then you need to add the quantity in decimal points. So from here, you can easily do this.
- Here, you can set the numbers after decimal you want. For example, if you want that only 2 decimal number will be show after decimal like 12.78, then with this option you can easily set the number.
- With this option, you can allow CSA. CSA is the person who will get some points as commission who took the customer and if customer will purchase anything, they will get commission for that.
- This feature help you to edit the price of the product at the time of making sales order. This feature help you to minimize your efforts as you do not have to go to product section to edit the price and make the sales order.
- From here, you can allow the price list.
- Select the weight of the product
- If you wish to allow you customers to purchase without credit limit, then check this box.
After inserting all the details, click on “Save” Button located at the bottom of the page to save the configuration instantly.
Accounting Module

Financial Year: Financial year is a period used for calculating annual (“yearly”) financial statements in businesses and other organizations all over the world.
Book Keeping Year: A bookkeeping year, or bookkeeping period, is a company’s annual reporting period. When beginning your accounting, you must determine the beginning and end dates of your accounting year straight away.
After inserting all the details, click on “Save” Button located at the bottom of the page to save the configuration instantly.